This X3 was just bought by a client of mine who likes to trade cars frequently (this one he’ll keep until winter is over) and wanted to get the car into presentable condition inside and out. The car came from Manheim’s PA location and had received some prep before being sold; the carpets showed signs of extraction, the motor had been detailed and the wheels cleaned, but really it would need much more work to meet my client’s expectations, even if he did only plan to keep it for nine months.
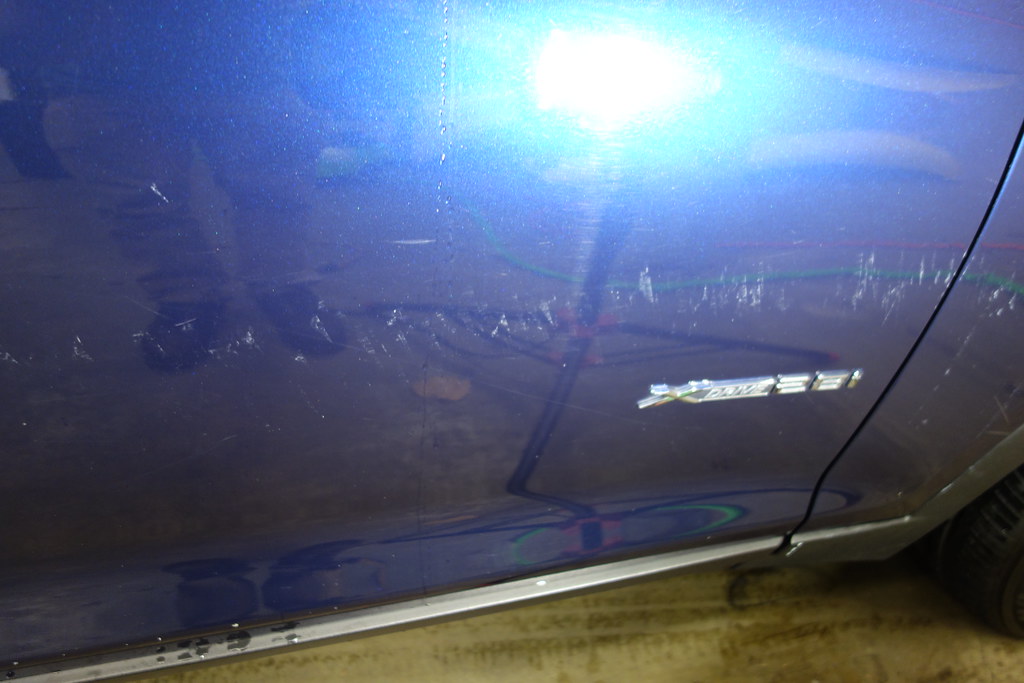
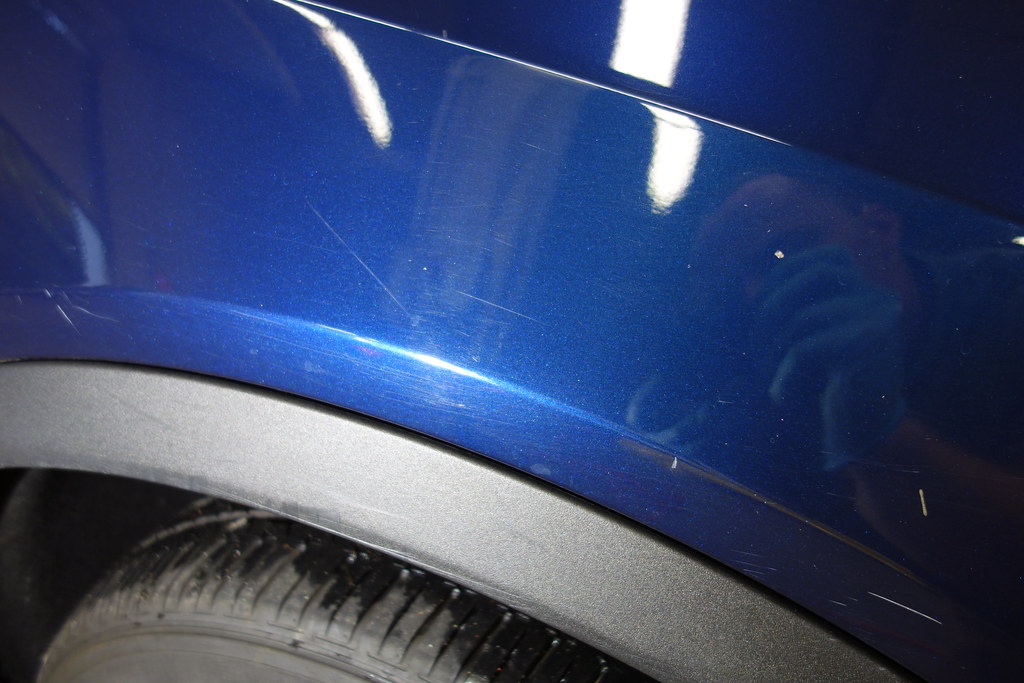
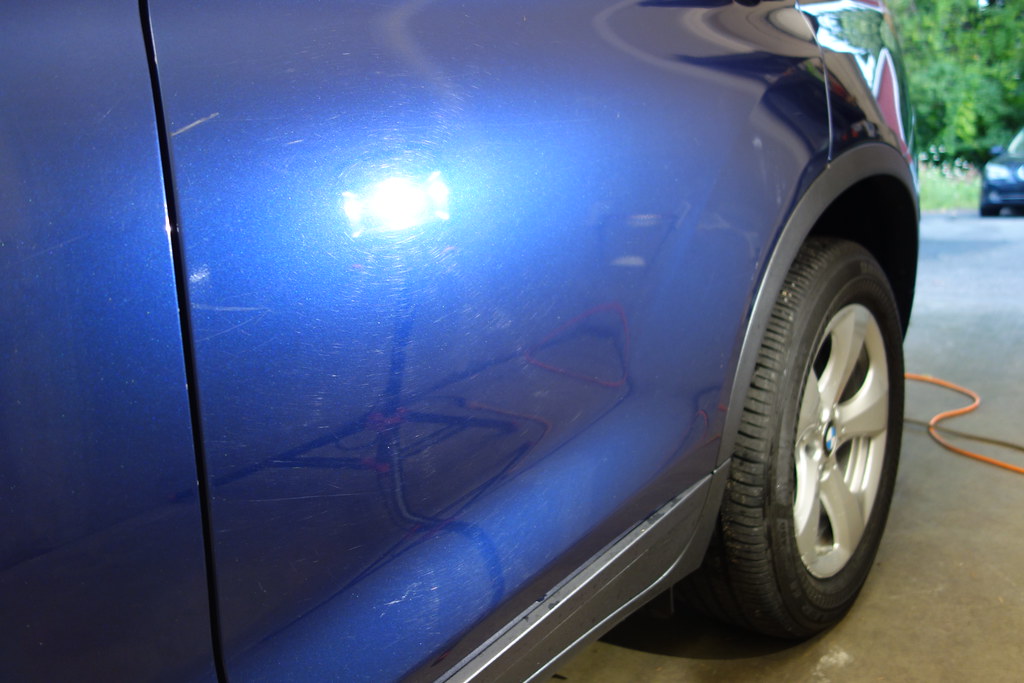
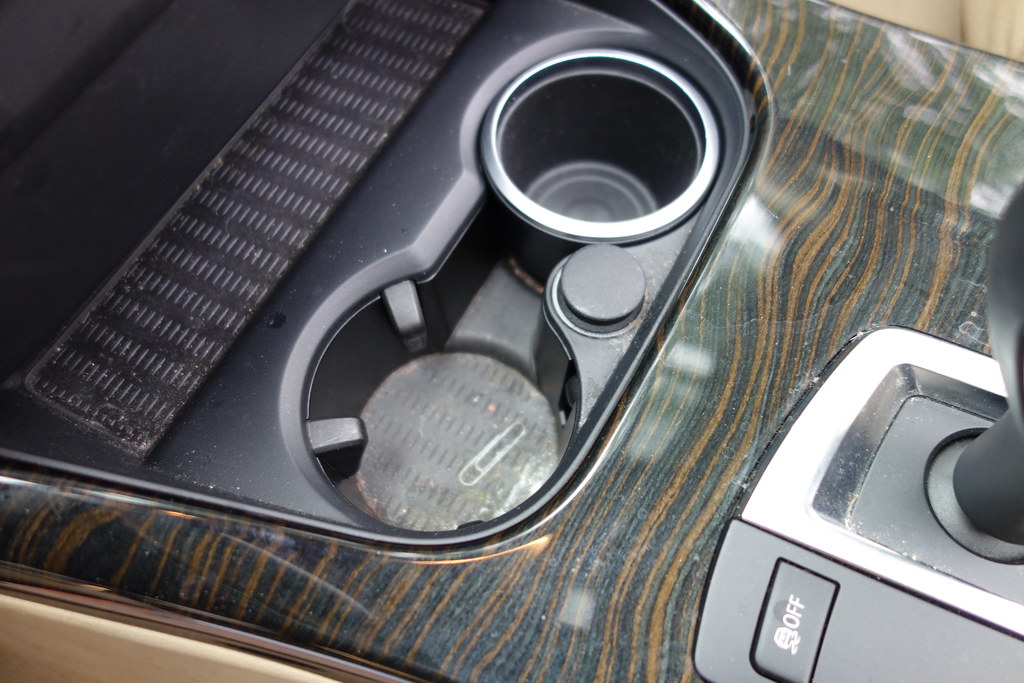
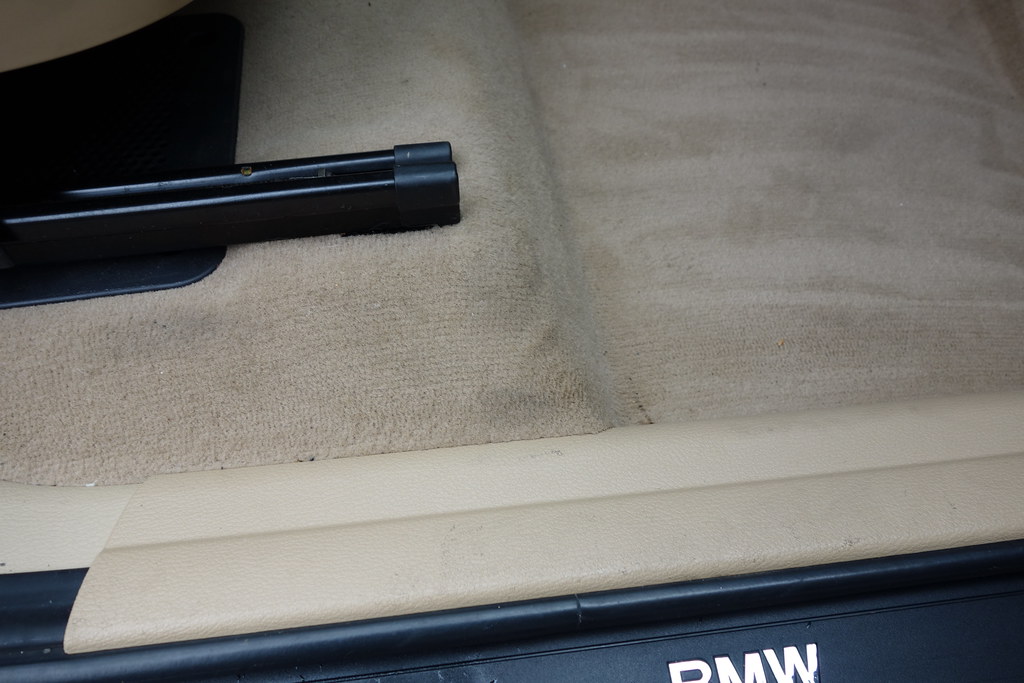
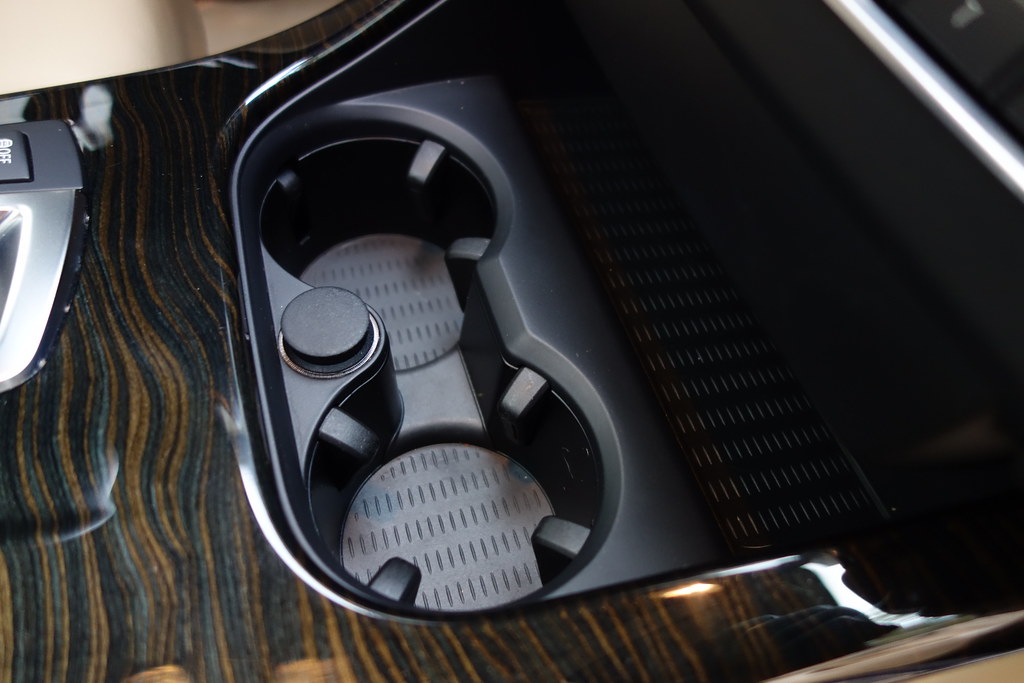
My initial inspection revealed an interior that wasn’t in terrible shape; a little ground-in dirt in the driver’s carpet, food and debris in the cup holders and some dog hair all around. The exterior was an entirely different story; in addition to the usual bonded contaminants this car showed numerous sap spots across the hood, roof and glass sunroofs. The passenger side fender and door showed heavy scratches (almost bordering on gouges), seemingly from hitting sometime at high speed which must have bounced off the door. Various RIDS were present across many of the body panels, and the amount of accumulated dirt & mold build-up in all of the body creases and gaps in conjunction with the moderate-heavy wash marring indicated that this vehicle probably saw the local scratch & swirl carwash exclusively.
Damage to the passenger fender and door:
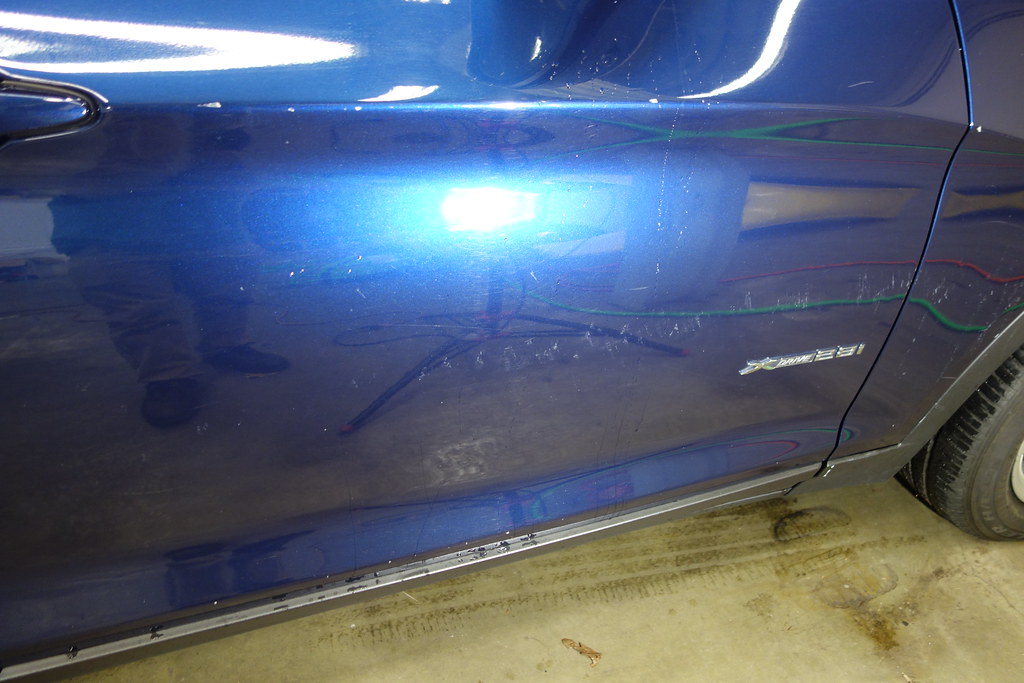
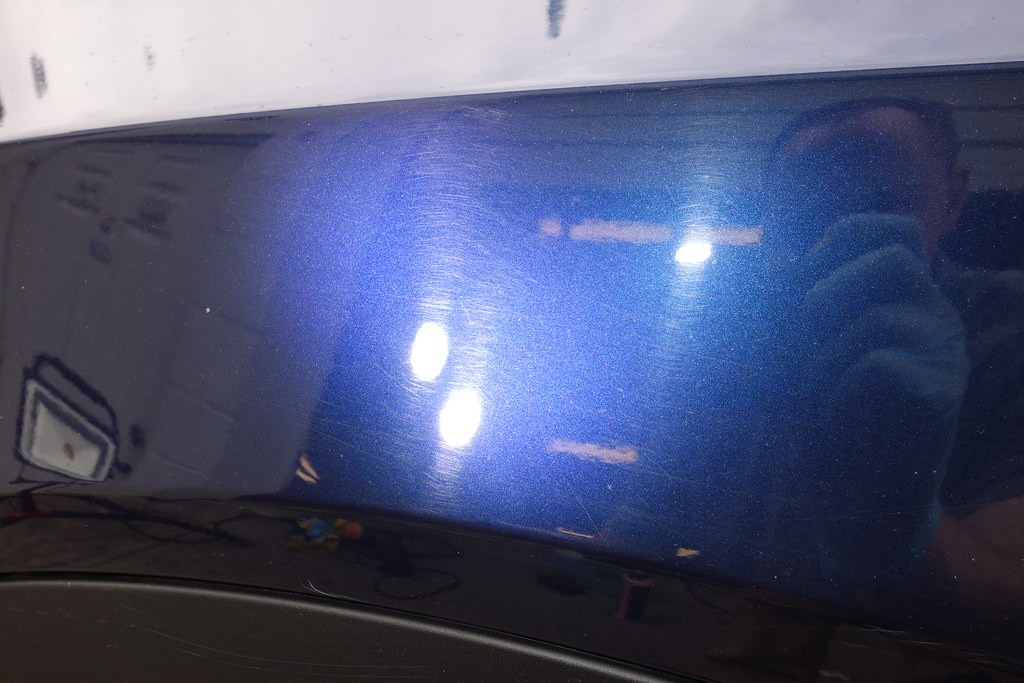
Moderate marring and rids present everywhere:
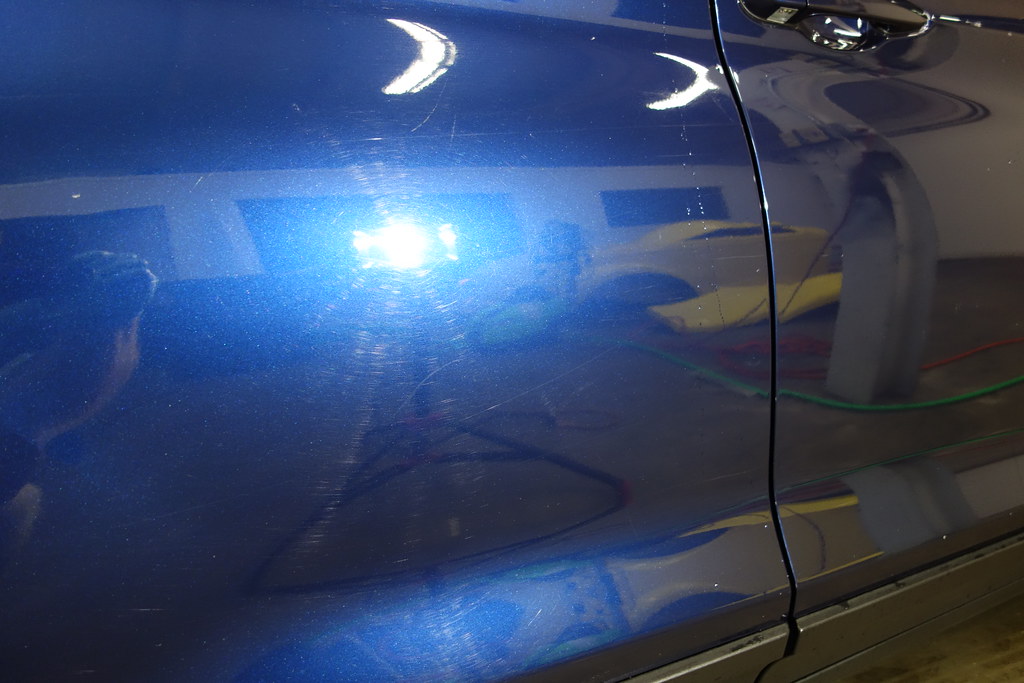
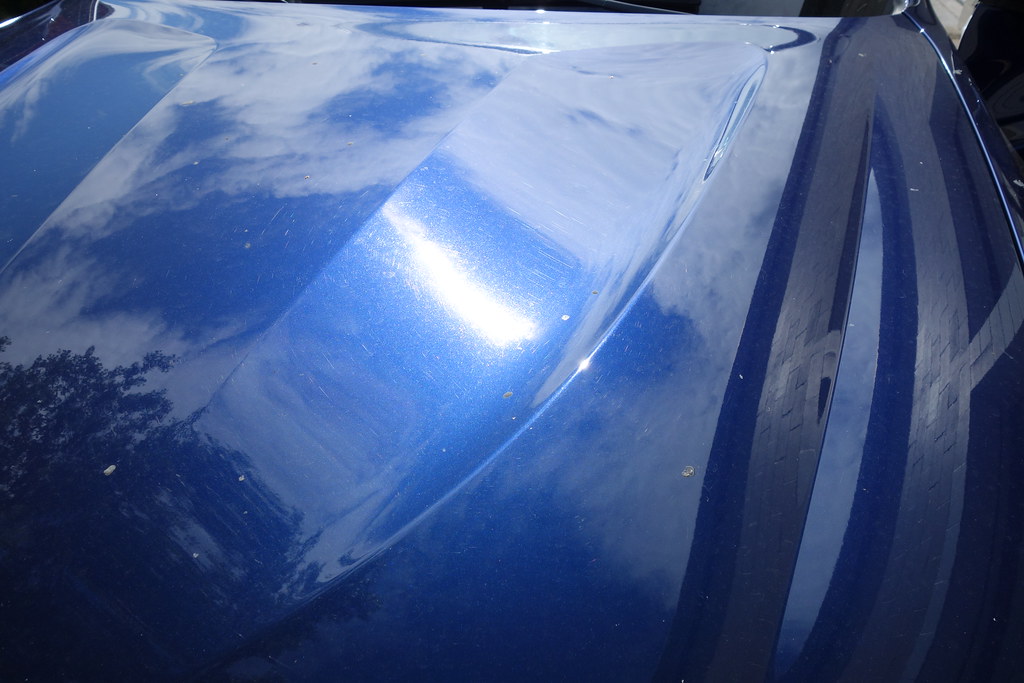
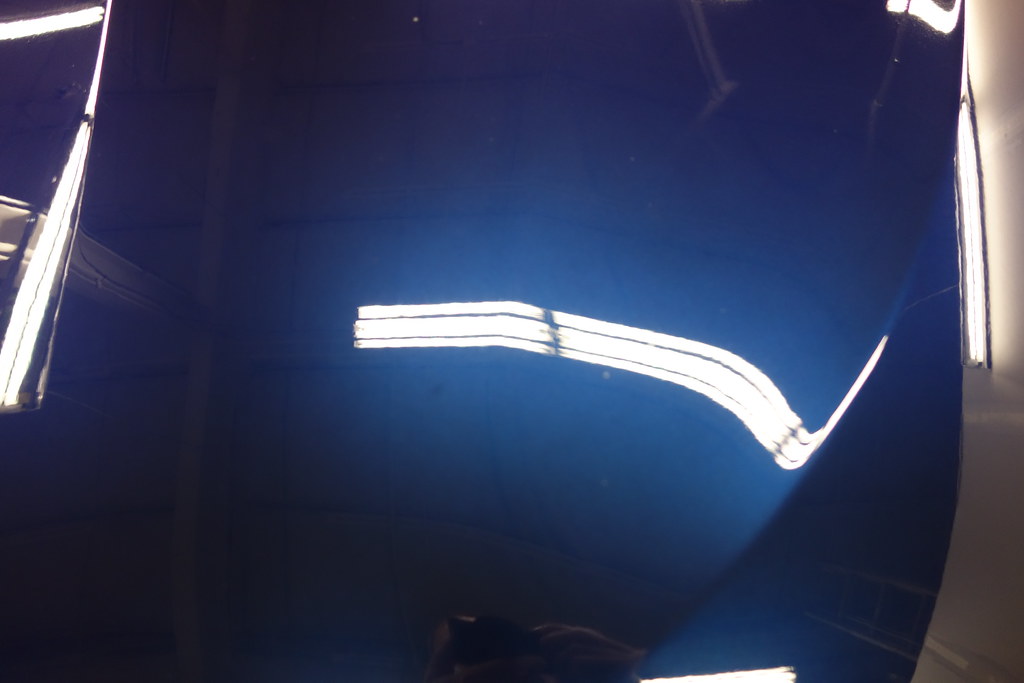
Dried up sap speckled the hood:
Dirt and mold in all the nooks and crannies:
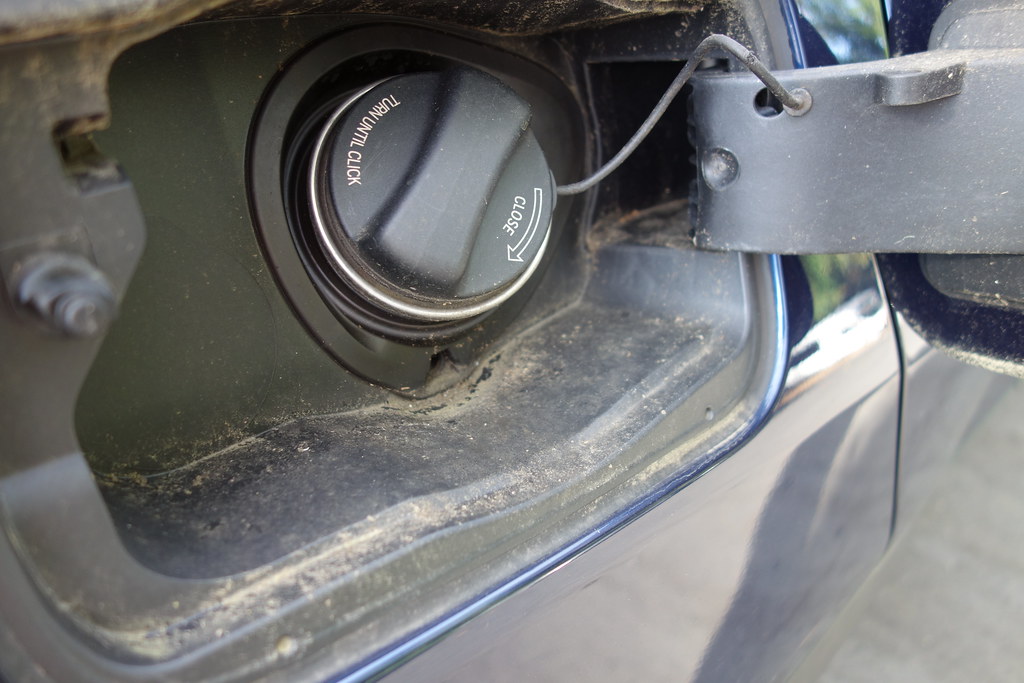
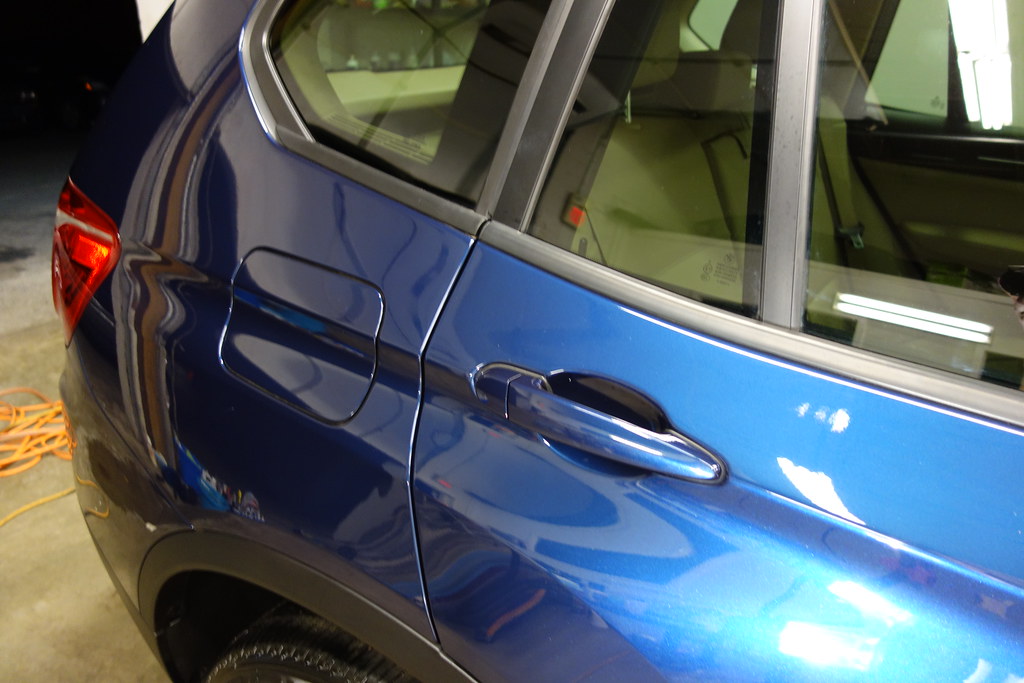
Gas filler door after preliminary cleaning via boar’s hair brush and OPC @ 3:1:
Sonax wheel cleaner plus dissolving some bakes on iron deposits:
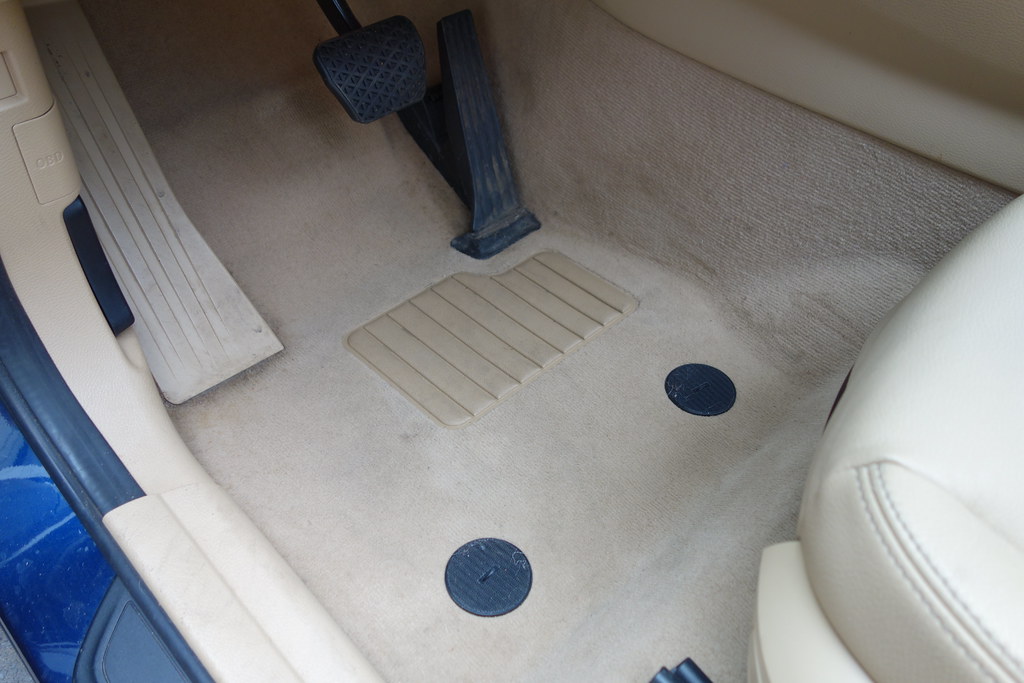
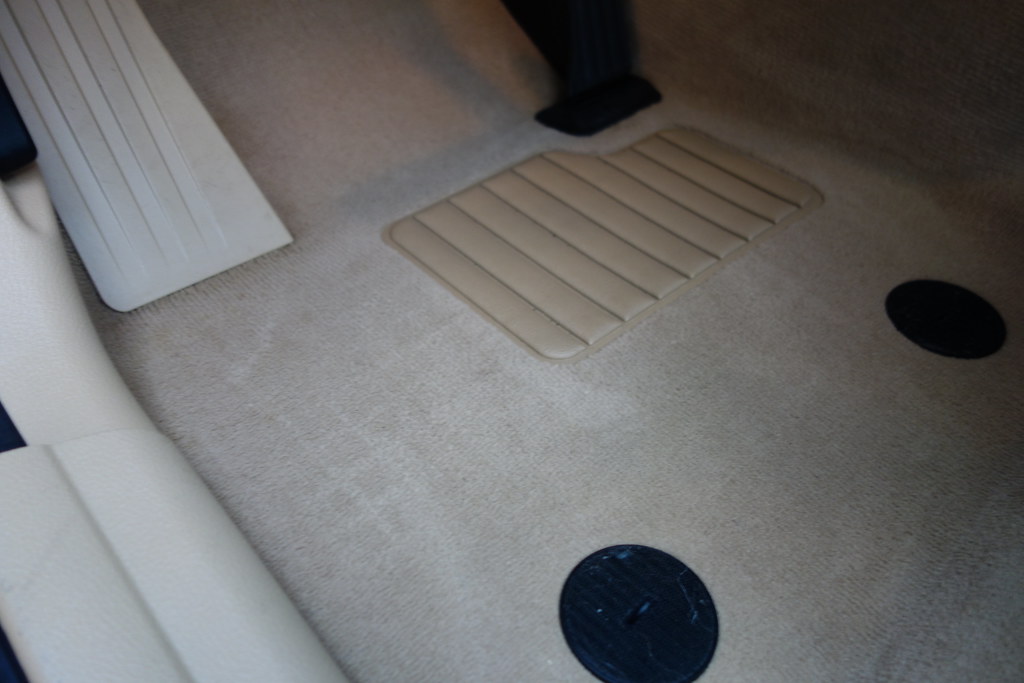
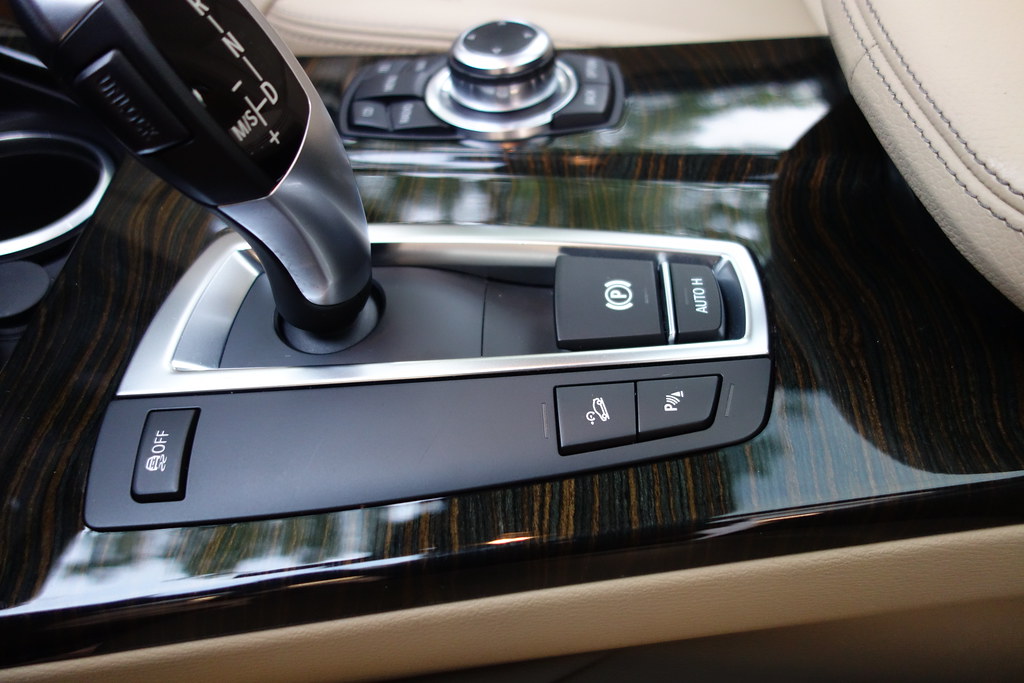
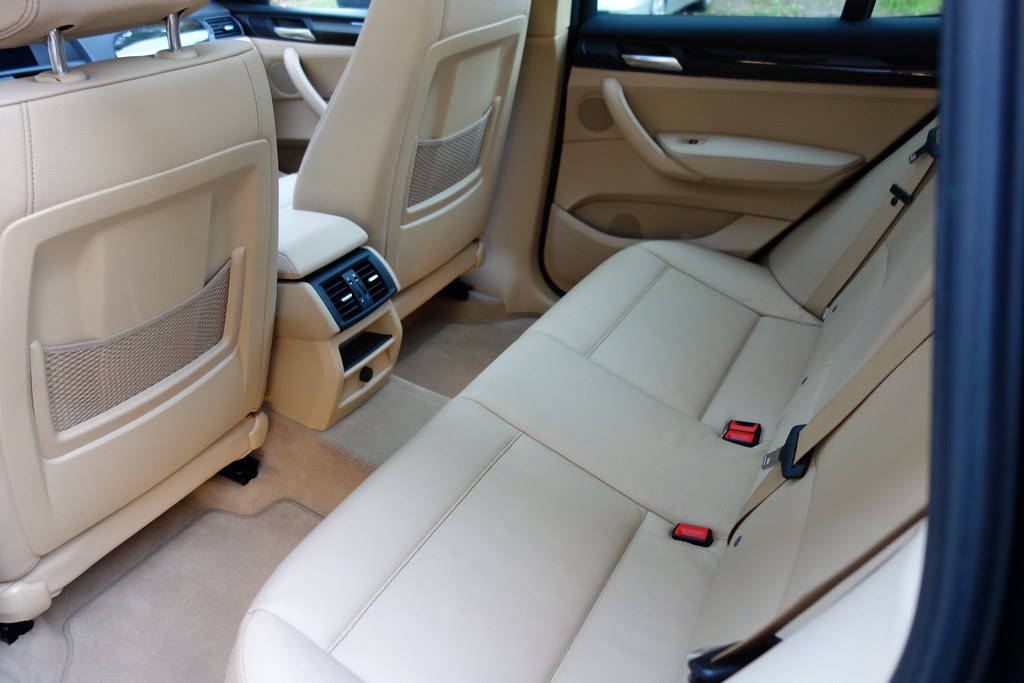
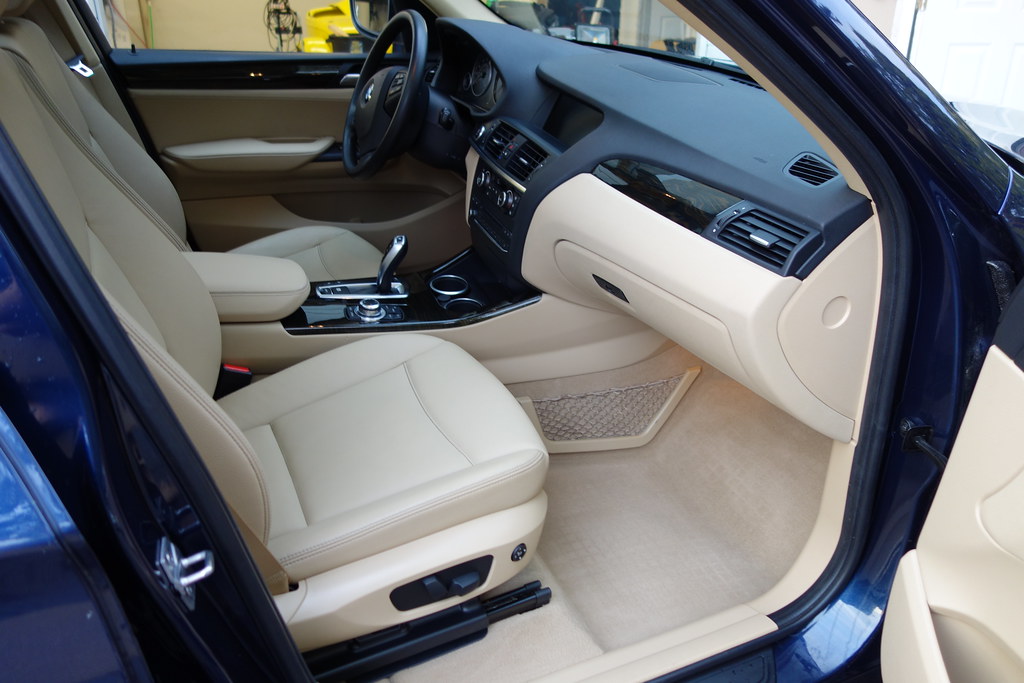
Interior before:
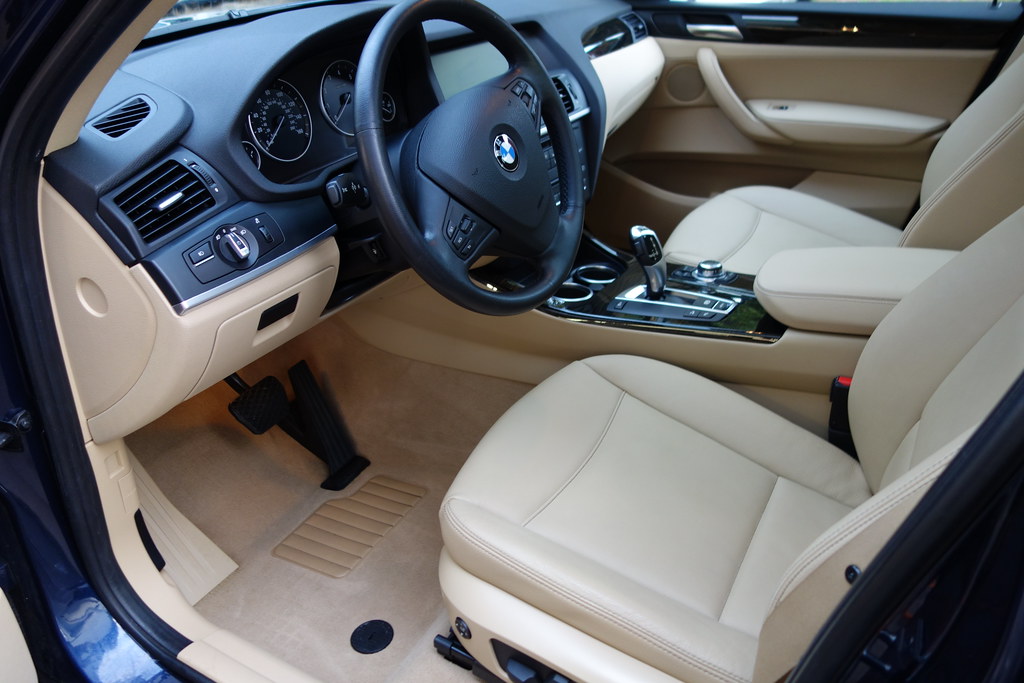
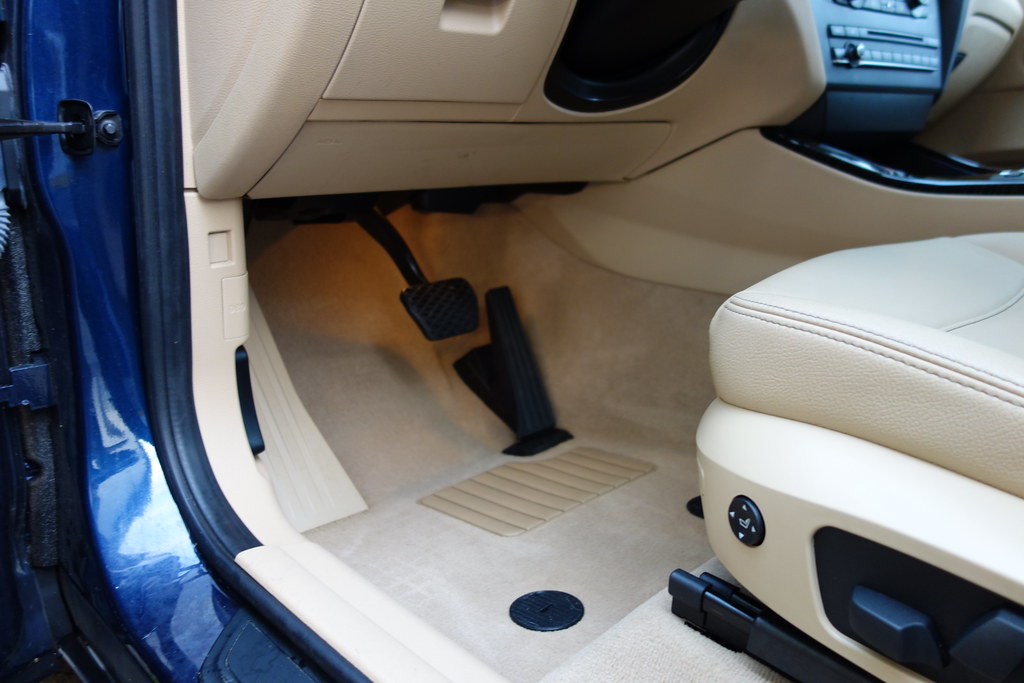
Interior after:
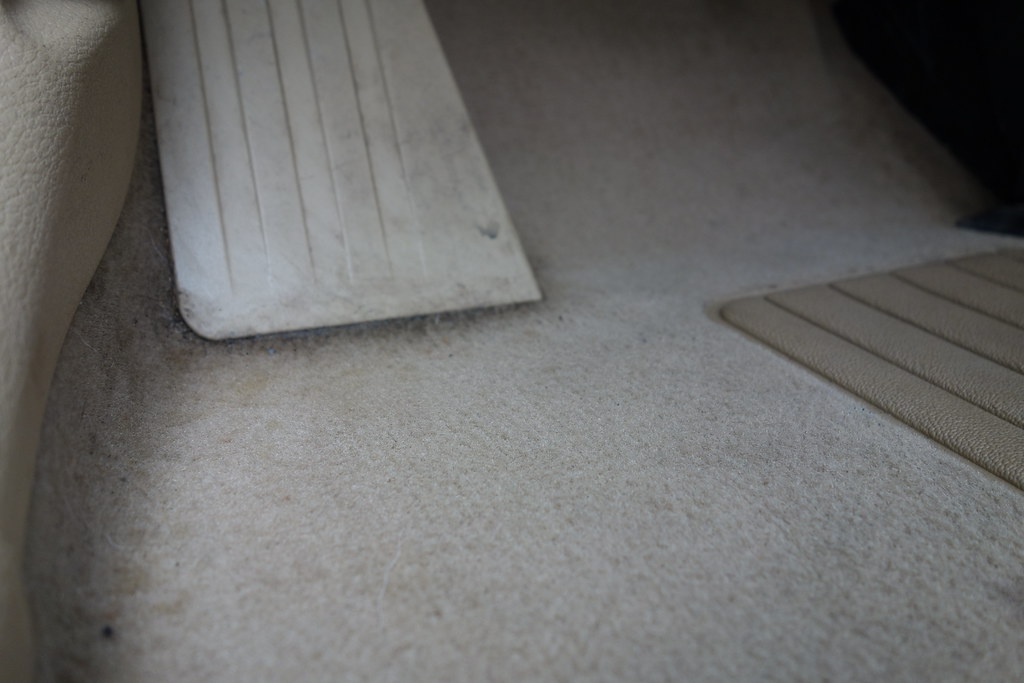
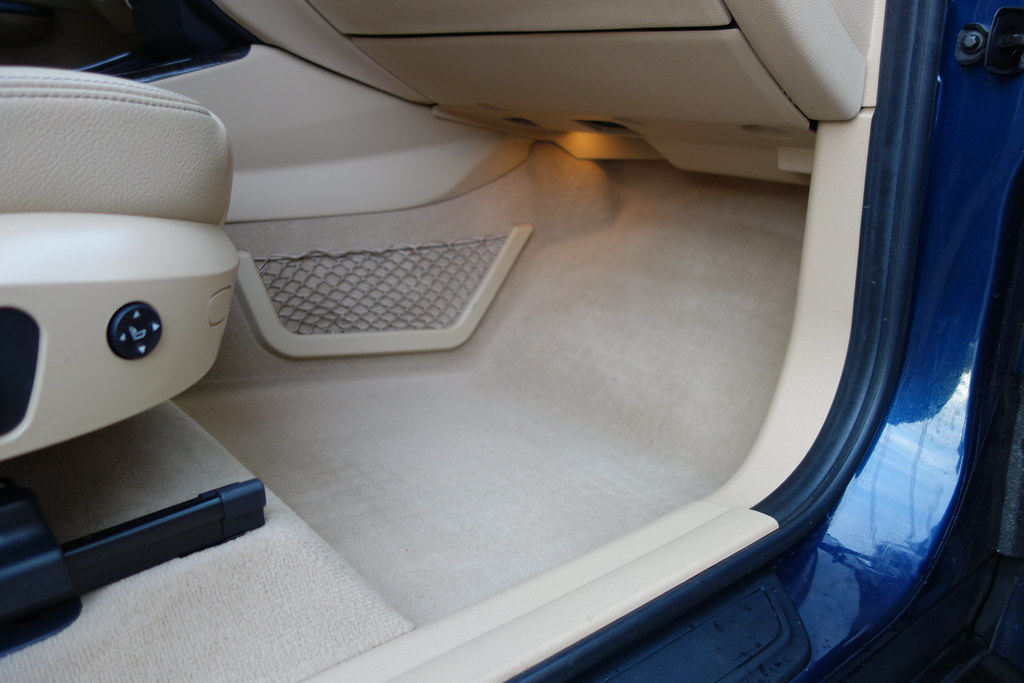
The carpet wasn’t perfect, but definitely greatly improved:
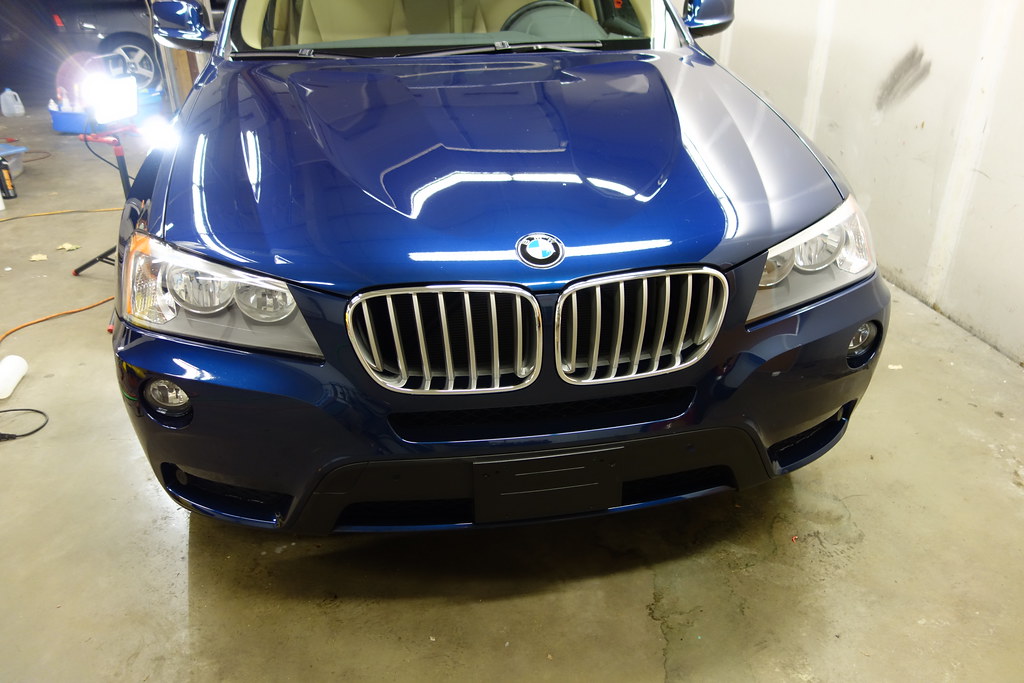
Onto the exterior:
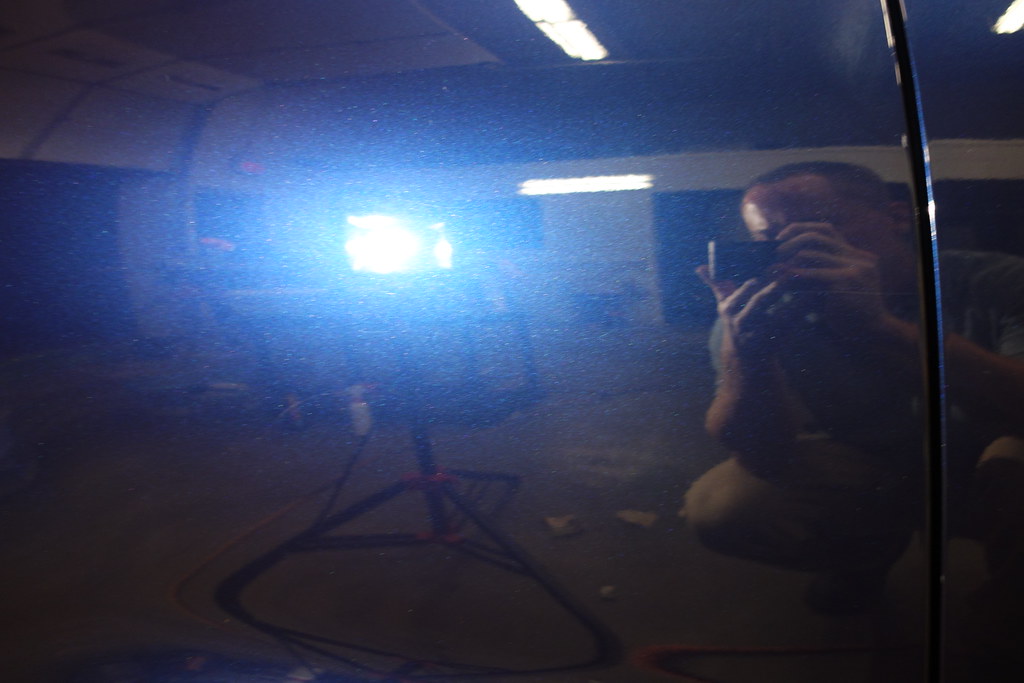
We decided a two step correction was necessary in this case given the severity of the scratches all over the body, plus the moderate marring all around.Prior to polishing the body was washed, decon’d and all sap spots were removed with 70% IPA and microfiber towels. I chose Meguiar’s 205 polish for the compounding and polishing steps, using an Optimum microfiver pad and an abundance of M205 for compounding and heavy defect removal. A Lake Country black foam finishing pad with a normal amount of M205 was used to remove the small amount of micromarring and hazing present from the compounding step. Extra compounding was performed on areas exhibiting deeper scratches. All cracks & crevices were cleaned with OPC @ 3:1 dilution ratio, ONR at 8:1 (QD strength) and a boar’s hair brush plus mf towels. The LSP of choice was CarPro’s Reload due to its reflective look and ability to shed dirt easily during the wash process (the new owner uses the 2-bucket method on his cars). Since the owner will only be keeping this car for a short amount of time a coating was deemed unnecessary.
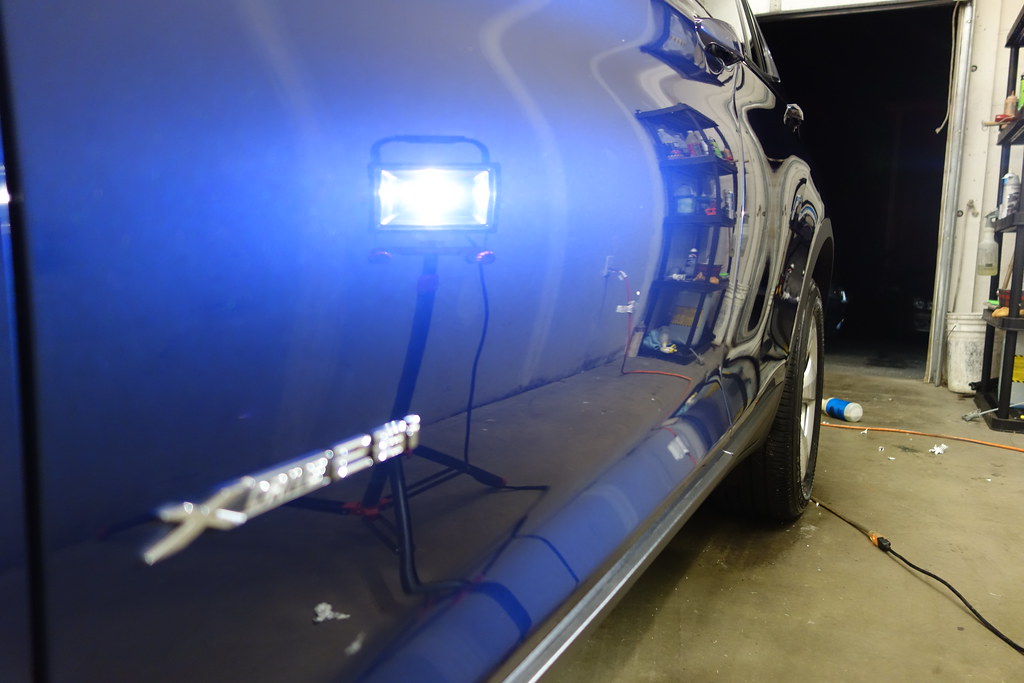
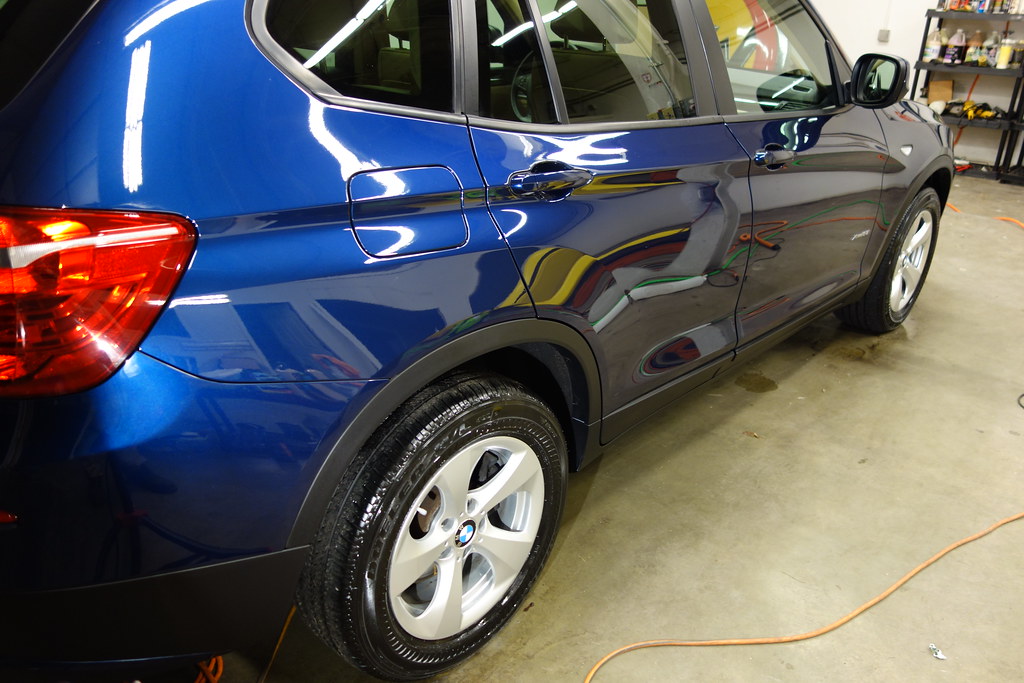
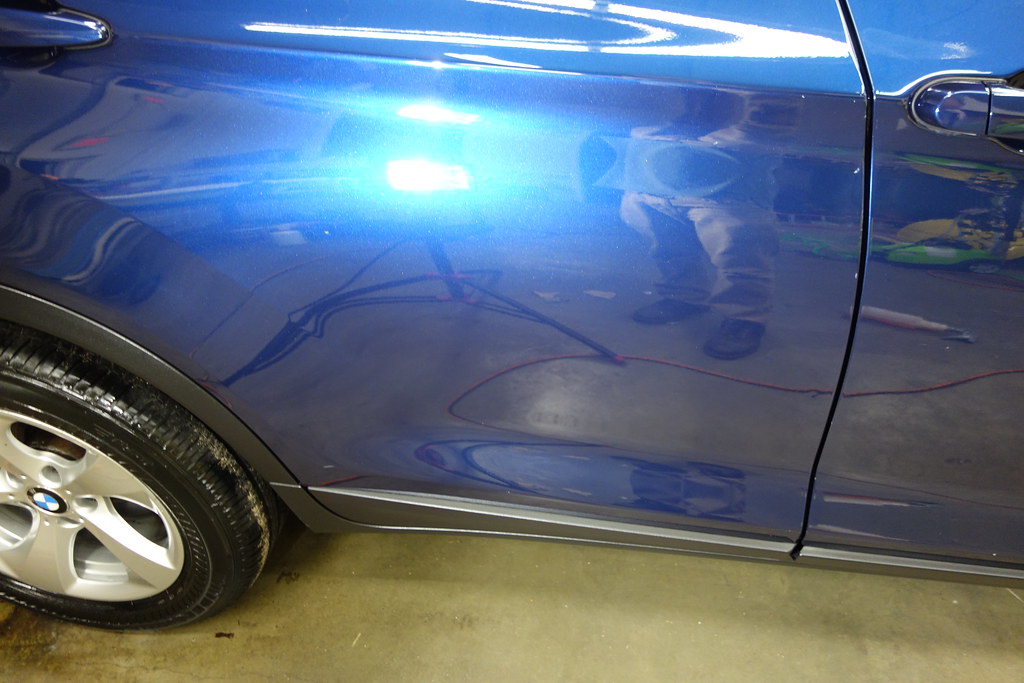
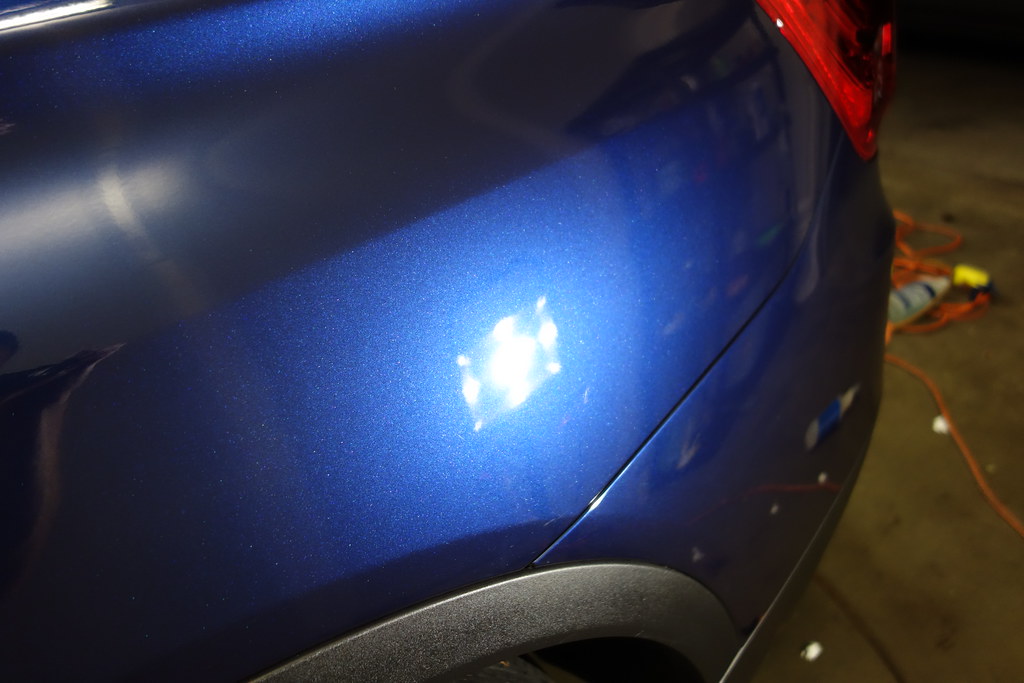
Bright reflections on the passenger side:
The trim was dressed with 3D’s thick dressing, the tires received 3D’s ultra protectant and were still drying in these pics, hence the milky appearance:
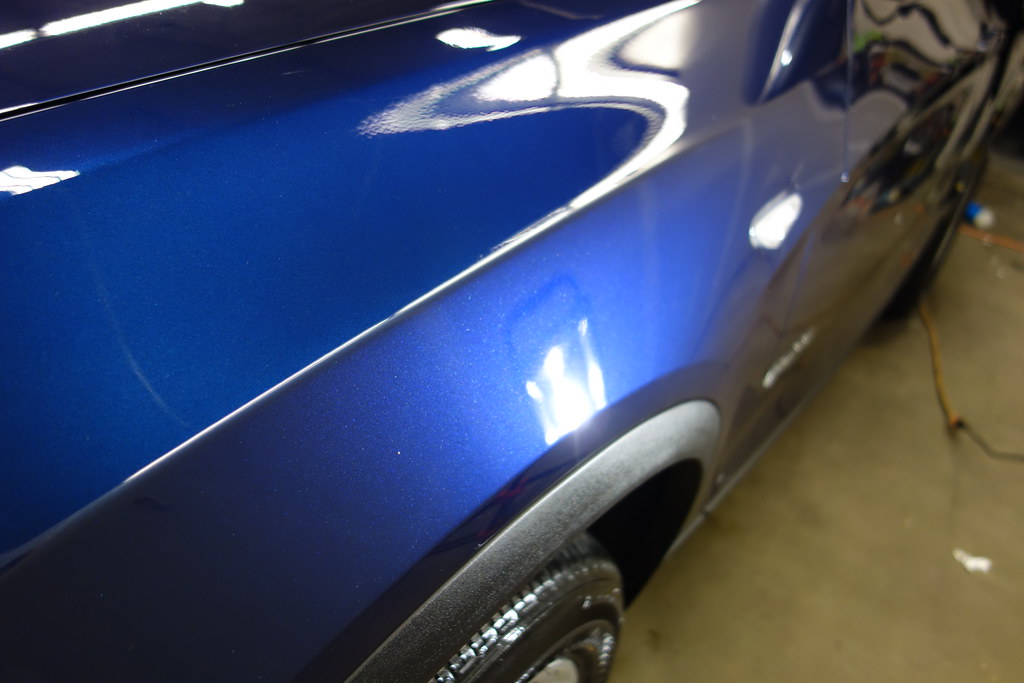
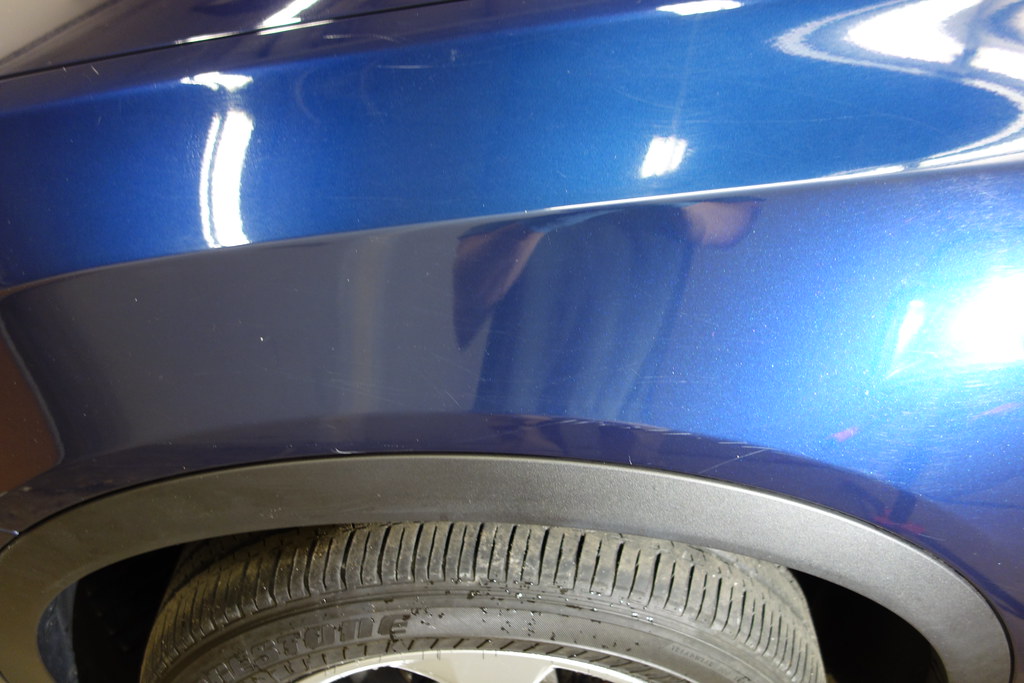
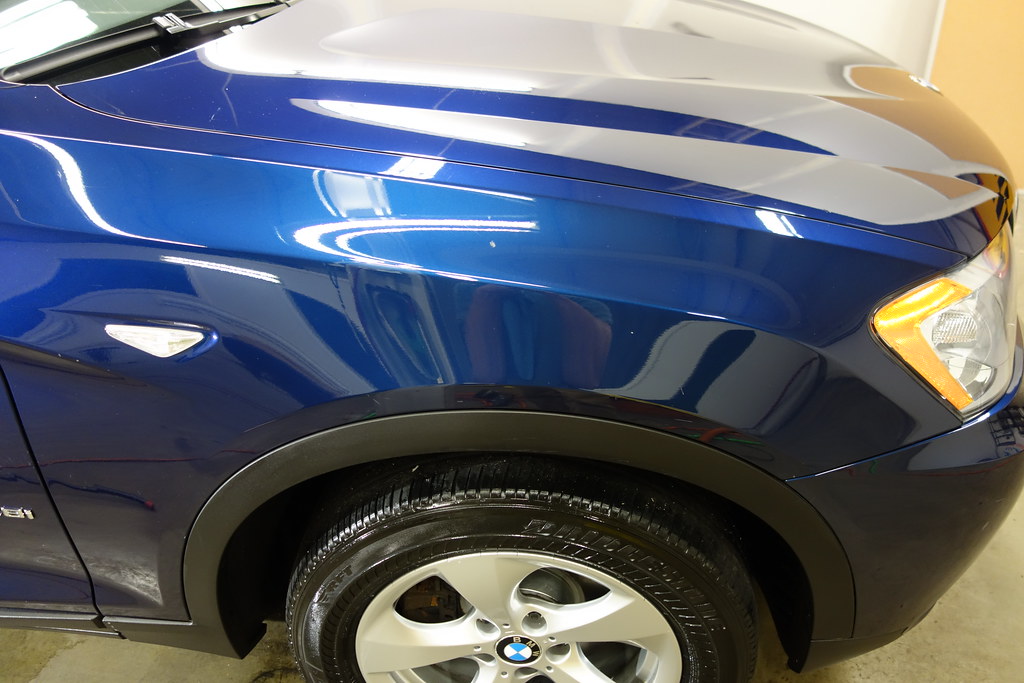
Quarter panel scratches nearly gone:

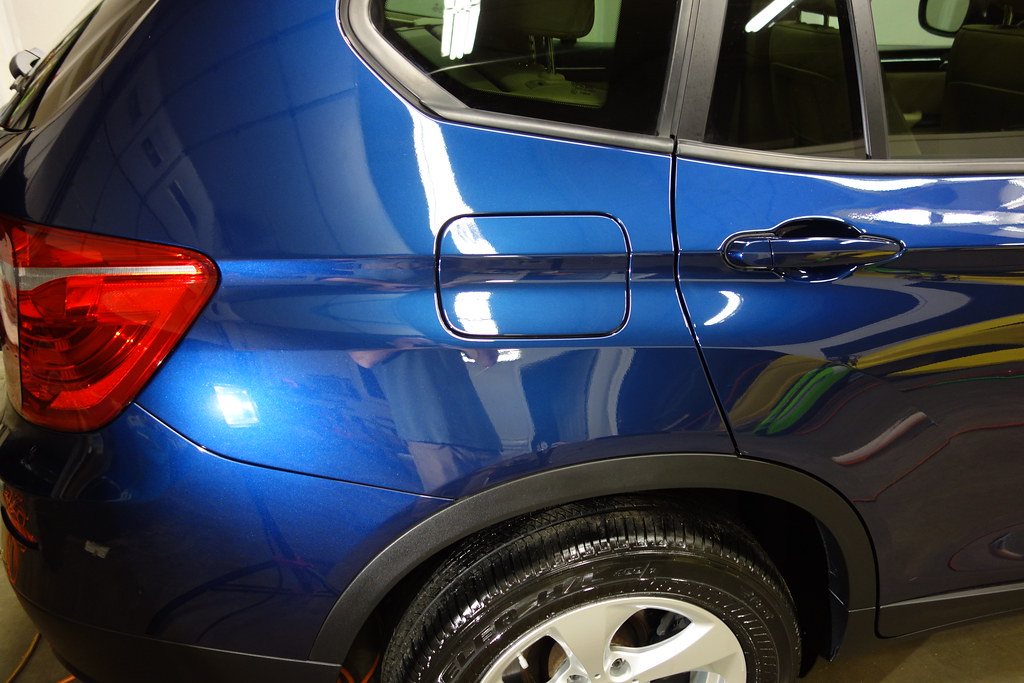
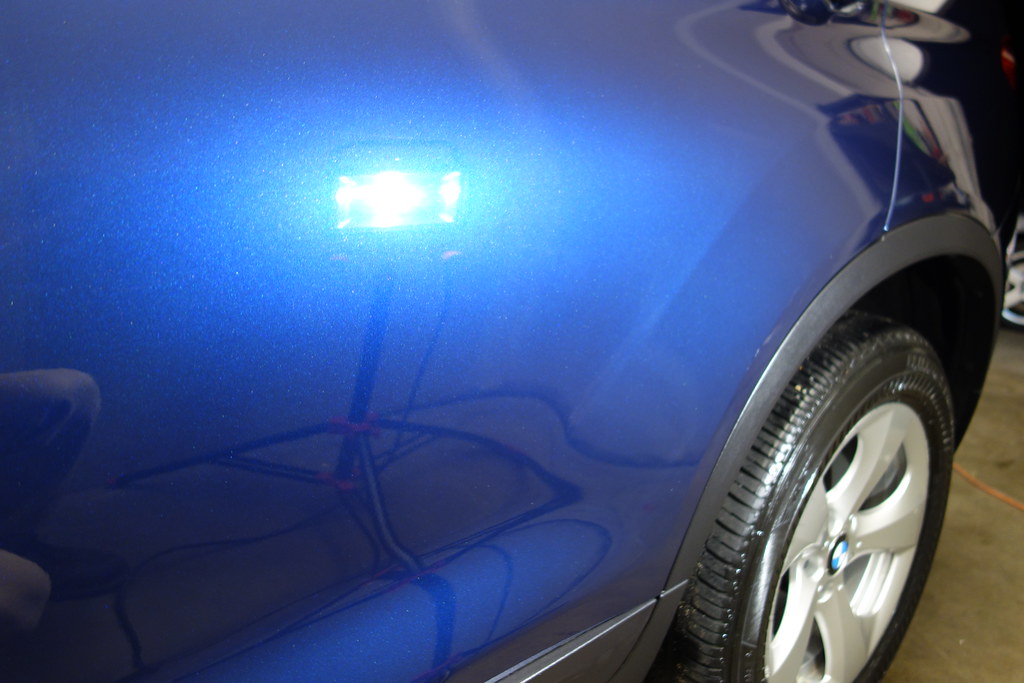
Metallic flake showing nicely:
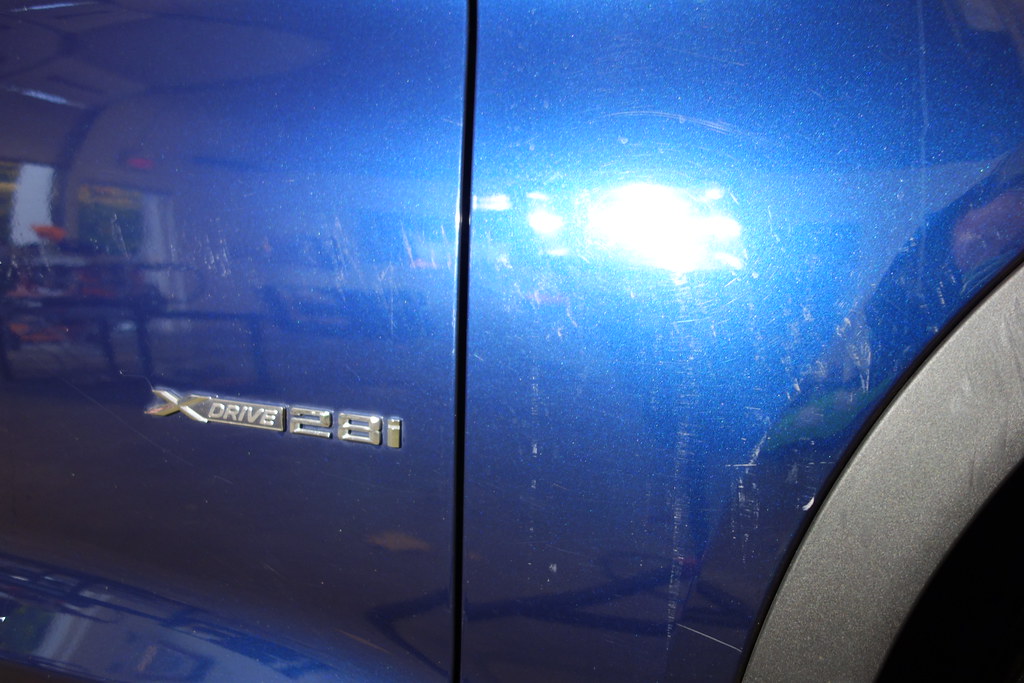
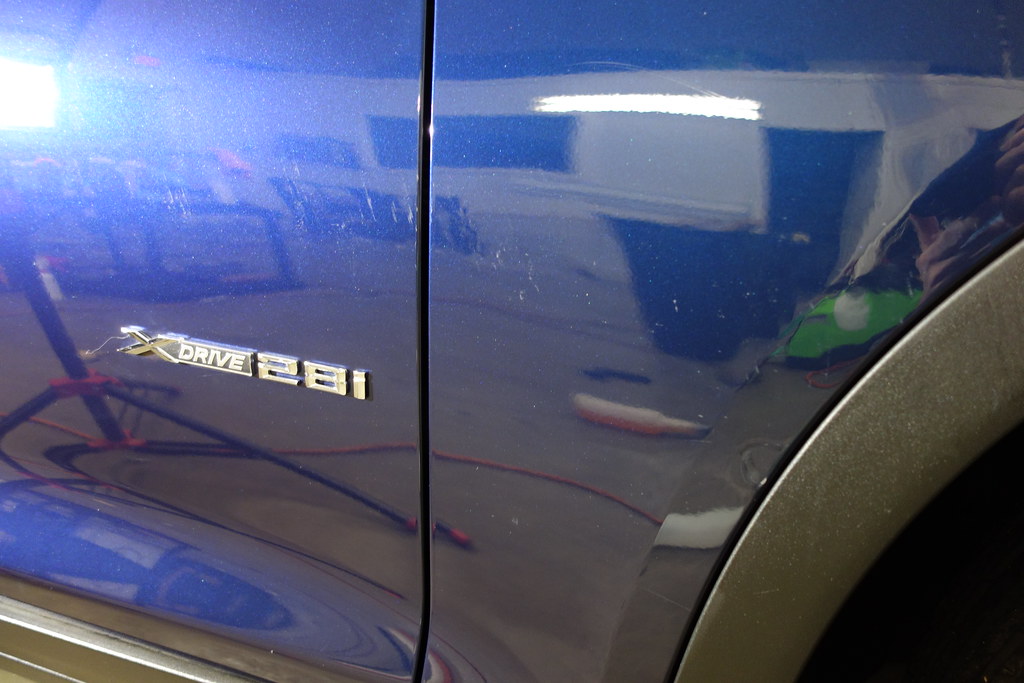
The gouges on the passenger fender were improved by about 80%+, the gouges in the door were deeper and would likely require painting to be fixed completely:
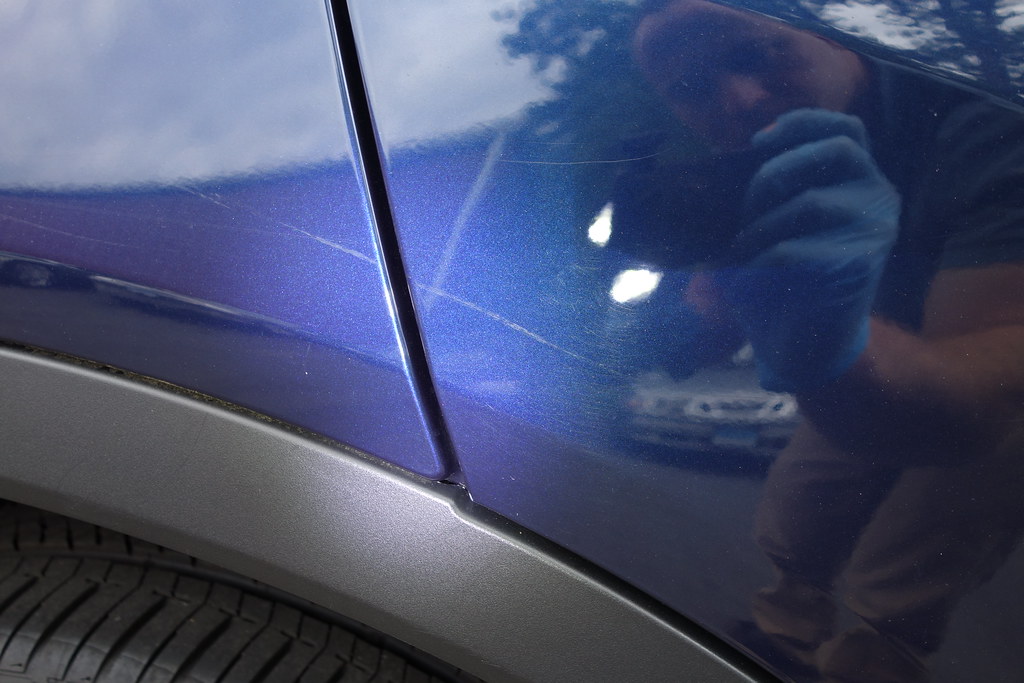
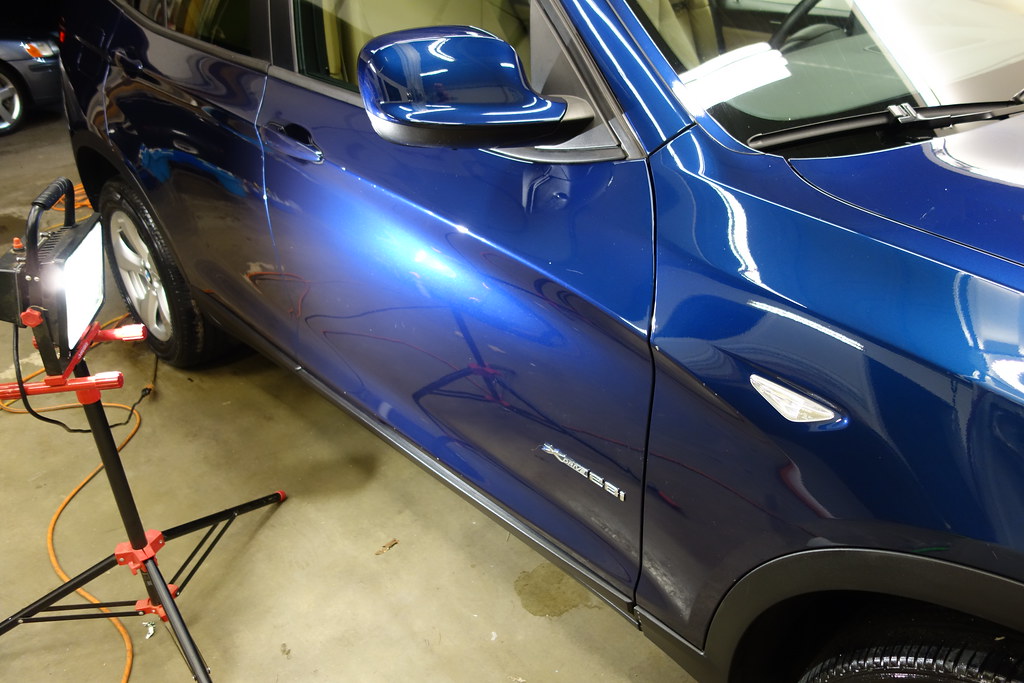
From a few feet away in less direct light the damage to the door was almost invisible
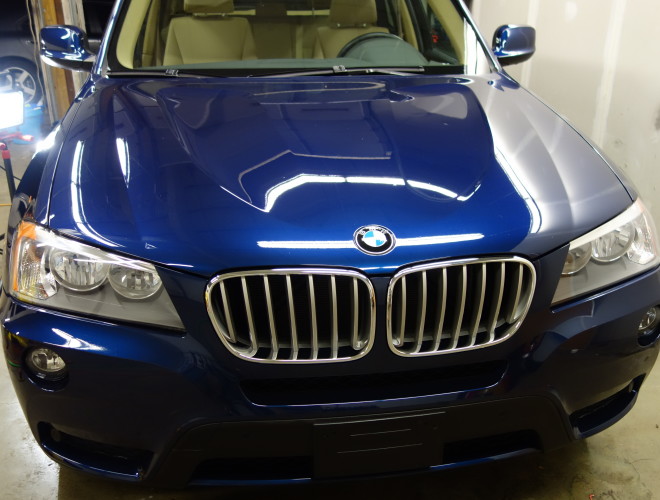
Hood sans marring and sap:
Reflections on the passenger side: